No products in the cart.
How to set up my reverse camera?
Firstly you need to confirm if you are using a Pioneer reverse camera (RCAMAVIC or RCAM2) or a factory reverse camera via an aftermarket interface.
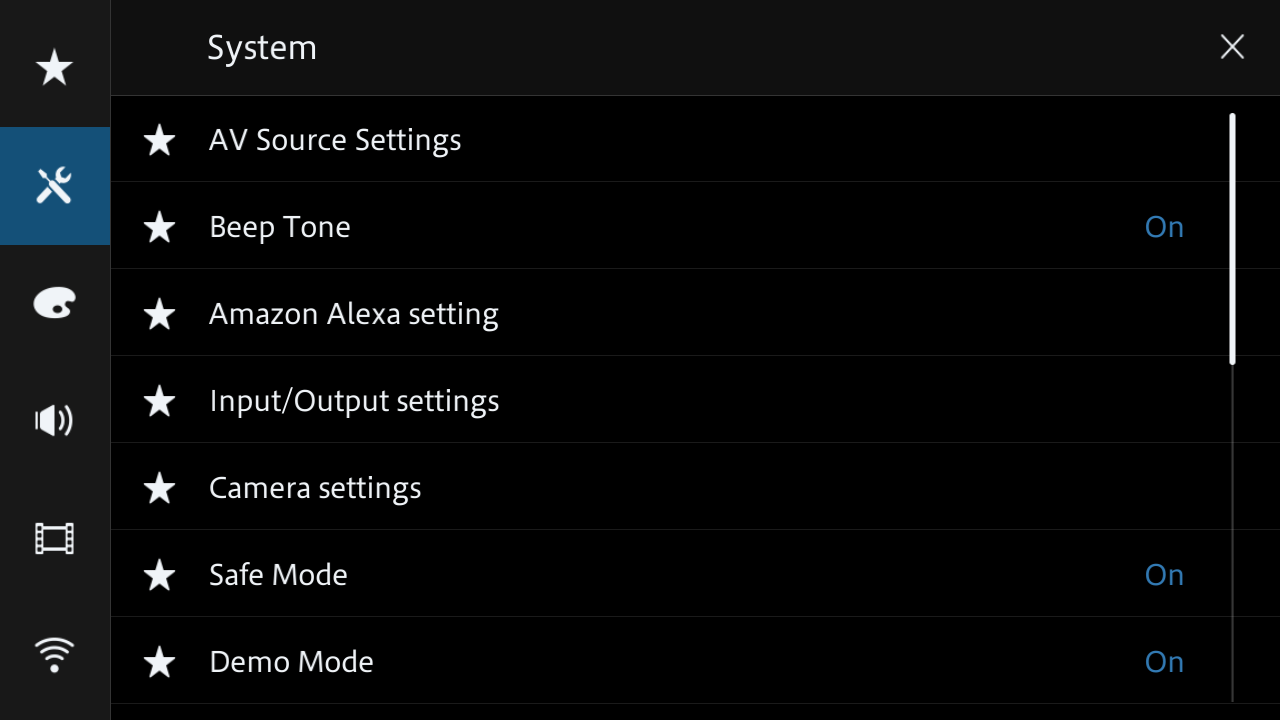
Ensure the unit is switched to “Source Off”, then select the gear/setting icon on screen to access the units menu.

Next select “Camera Settings”
Then ensure the “Camera Polarity” is set to “Battery”. If it is set to “Ground” please press until “Battery” is displayed. If it is left on “Ground” the camera will always override the display instead of only being displayed when the vehicle is placed in reverse gear. If the camera you are using does not have it’s own camera guides displayed you can turn the Pioneer “Parking Assist Guide” on/off in this menu also.
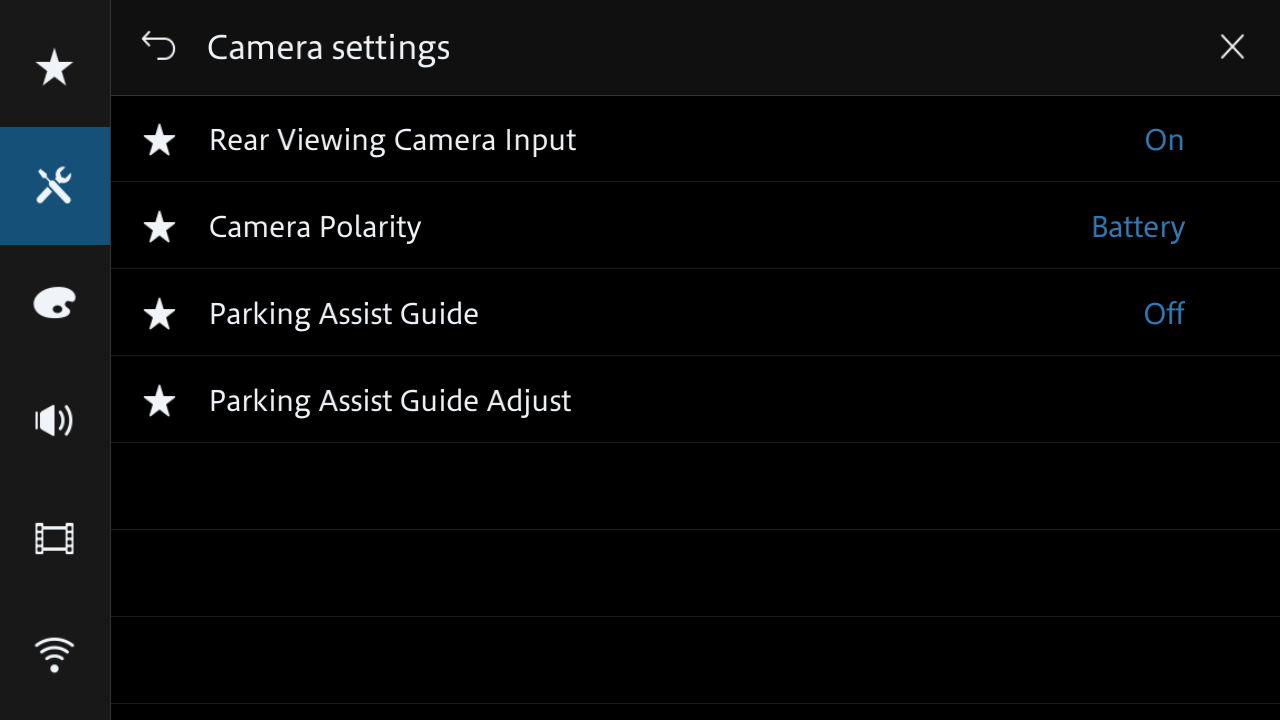
To adjust the parking assist guide press “Parking Assist Guide Adjust” and you will then be able to adjust (drag) each of the four points via the touch screen. You can then exit the menu.
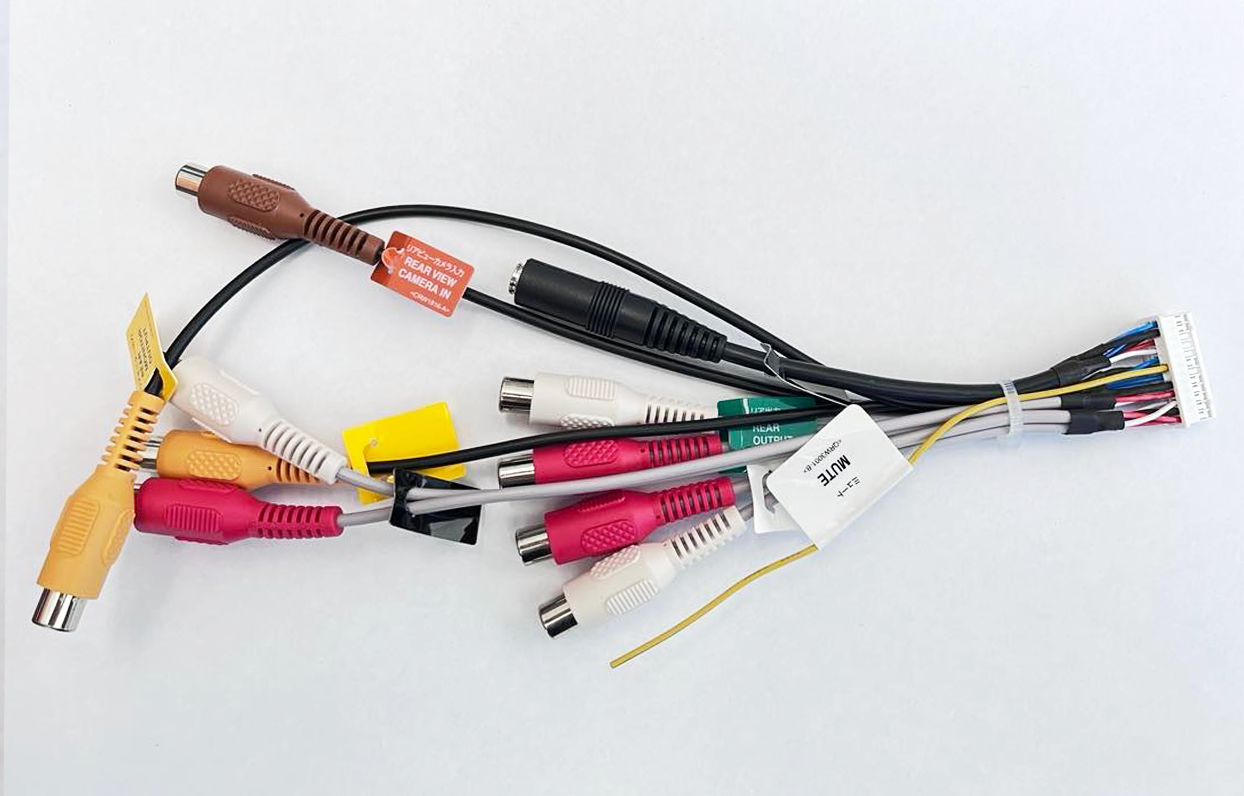
Regarding the reverse camera wiring, you need to ensure that the video lead is connected to the “Reverse Camera” connection in the Pioneer AV harness (example pictured below).
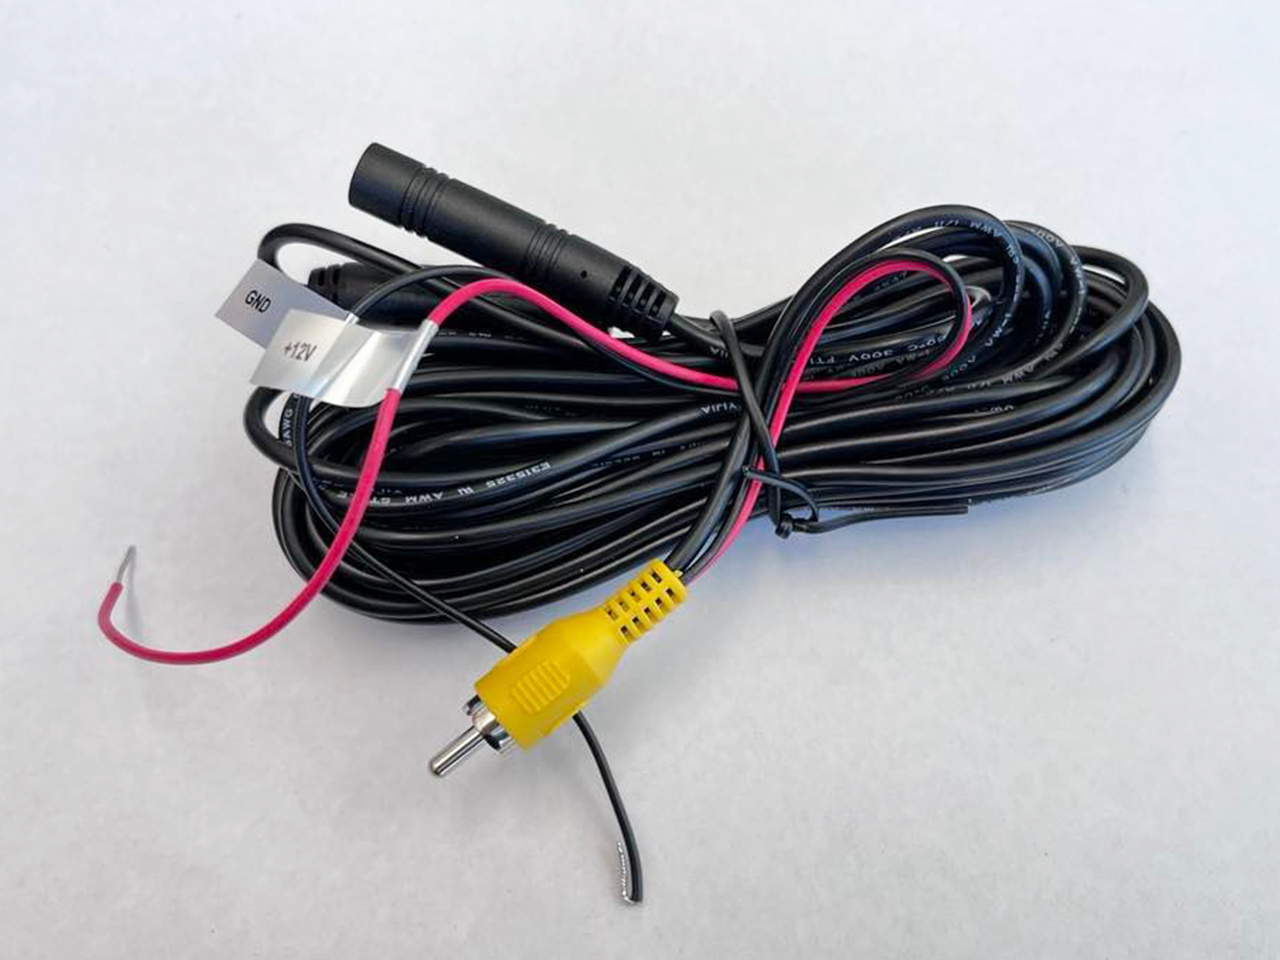
You also need to ensure that the reverse camera is wired correctly to both a good earth and also an appropriate 12v reverse trigger.
If using a factory reverse camera via an aftermarket interface please ensure the correct 12v reverse trigger is being supplied to the Pioneer AV receiver.

